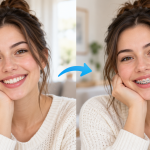
An easy guide to fixing flash red eye in portraits, group photos, and old family pictures without changing the rest of the image.
6 min read · Photo Editing Guide
In This Guide
- Why red eyes appear in photos
- Choose the right photo for red eye correction
- How to remove red eye online in three steps
- Check whether the correction looks natural
- Fix red eyes in group photos and old pictures
- Prevent red eye in future photos
The Short Version
- Red eye usually happens when a camera flash reflects from inside the eyes, especially in low light.
- A good red eye correction should fix the affected pupils without changing natural eye color or facial features.
- You can use an online AI red eye remover to correct flash reflections without installing Photoshop.
- Always compare the edited photo with the original before saving it.
01 Why Red Eyes Appear in Photos
You’ve probably experienced this before. You take a photo at a birthday party, a family dinner, or an evening event. Everyone looks great until you zoom in and notice that someone has bright red eyes.
It’s a surprisingly common photography problem, and it has nothing to do with the person’s actual eye color.
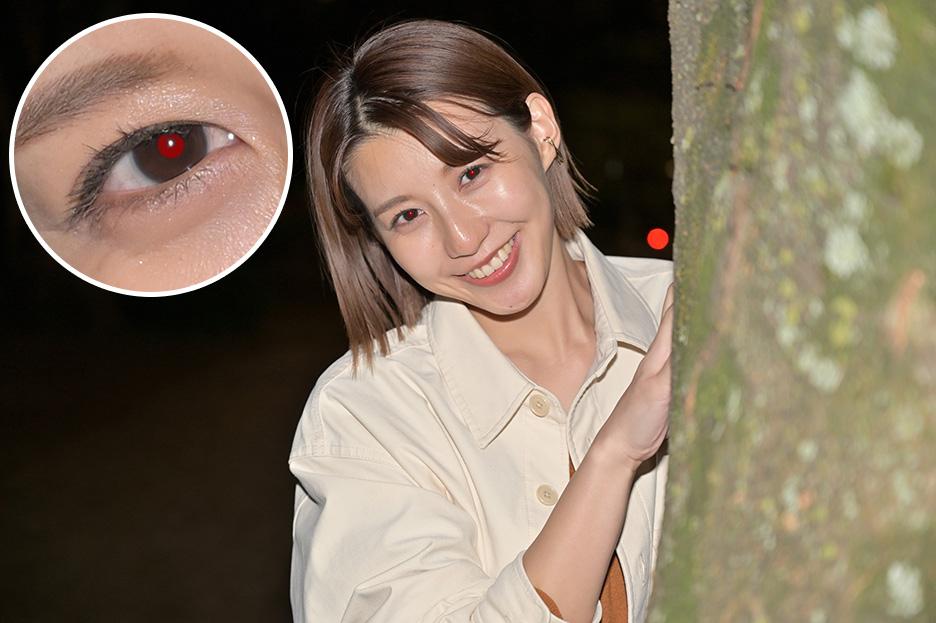
When you’re in a dimly lit environment, your pupils naturally become larger to let in more light. If the camera flash fires directly toward someone’s face, some of that light can enter the eyes and reflect back from the retina. The camera captures this reflection as a red glow in the pupils.
This is especially noticeable when the flash is close to the camera lens, as is often the case with compact cameras and some phone photography setups.
The frustrating part is that everything else in the photo might be perfectly fine. The lighting looks good, the expressions are natural, and you’ve captured a moment you probably can’t recreate.
That’s why red eye correction should be a small, targeted edit rather than a complete photo makeover.
The goal isn’t to make someone look different. It’s simply to make their eyes look the way they did in real life.
02 Choose the Right Photo for Red Eye Correction
Before editing, take a closer look at the original picture.
Not every red-looking eye is the same, and understanding what you’re dealing with can save you time.
For example, the typical flash red-eye effect appears as a bright red or reddish-orange area inside the pupil. It may affect both eyes or just one.
This is different from bloodshot eyes, redness around the eyelids, or naturally unusual eye reflections caused by certain lighting conditions.
A red eye remover designed for flash photography should focus on the pupil reflection rather than changing the entire eye.
Photo quality matters, too.
A clear portrait where the eyes are visible will generally be easier to correct than a blurry photo taken from across a crowded room.
If you’re working with an old family photograph, try scanning it at a reasonable resolution. Avoid applying heavy sharpening or beauty filters before removing the red eye, since those adjustments may alter important details around the pupils.
And here’s one tip that’s easy to overlook: keep the original image.
Even if the edit looks good at first glance, having the original makes it easier to compare the eyes, expressions, and overall appearance afterward.
03 How to Remove Red Eye Online in Three Steps
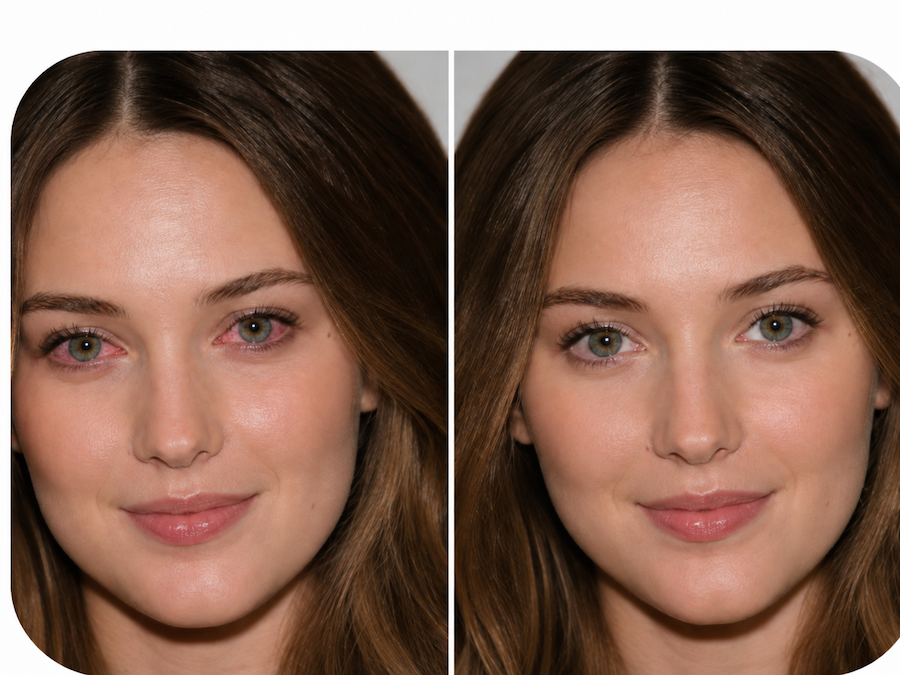
You don’t need to learn complicated editing software to fix a simple flash reflection.
For this type of correction, I prefer a straightforward workflow: upload the picture, correct the affected eyes, and review the result.
Here’s how to do it using AILabTools.
Step 1: Upload Your Photo
Open the Red eye removal in your browser.
Choose the photo you want to edit. The tool supports common image formats, including JPG, PNG, and WEBP.
You can start with a portrait, selfie, family picture, or a scanned photograph.
For the best chance of a natural correction, choose an image where the affected eyes are reasonably clear and visible.
Step 2: Apply Red Eye Correction
After uploading your image, select Generate to start the correction.
The tool is designed to identify visible flash-related red-eye reflections and correct the affected eye areas.
The important distinction is what the edit is supposed to leave alone.
A good correction shouldn’t reshape someone’s eyes, change their expression, recolor their natural iris, or modify their skin and makeup.
AILabTools’ red eye correction instructions are specifically intended to preserve these details while addressing the unwanted reflection.
Step 3: Review and Download
Once the corrected image is ready, compare it with the original.
Don’t just look at the entire photo. Zoom in on the eyes and check whether the pupils look natural.
Pay attention to eye color, pupil shape, and small reflections that make the eyes look realistic.
If everything looks right, download the corrected photo.
That’s the whole process. No complicated layers, brushes, or manual color selection required.
Put the Guide Into Practice
Try the AI Red Eye Remover
Have a photo that’s almost perfect except for the eyes? Upload it, correct the flash reflection, and compare the result with your original.
04 Check Whether the Correction Looks Natural
Removing the red color is only half the job.
A correction can technically eliminate the red reflection and still look strange if the pupils become too dark, the iris loses its detail, or the eyes appear unnaturally flat.
This is why reviewing the result matters.
I usually recommend checking three things.
First, look at the pupils.
They should look believable in size, shape, and color. A corrected pupil shouldn’t resemble a solid black circle pasted onto the image.
Second, compare both eyes.
If only one eye originally had red eye, the unaffected eye should remain unchanged. If both were affected, they should look consistent without becoming unnaturally identical.
Third, check the rest of the face.
The person’s expression, skin texture, makeup, hair, and surrounding lighting should still match the original photograph.
This is particularly important with AI-based photo editing. A tool may be designed for a specific correction, but generated results still need a visual check.
Don’t assume that a cleaner-looking image is automatically a more accurate one.
The best result is usually the one where nobody notices that the photo was edited.
05 Fix Red Eyes in Group Photos and Old Pictures
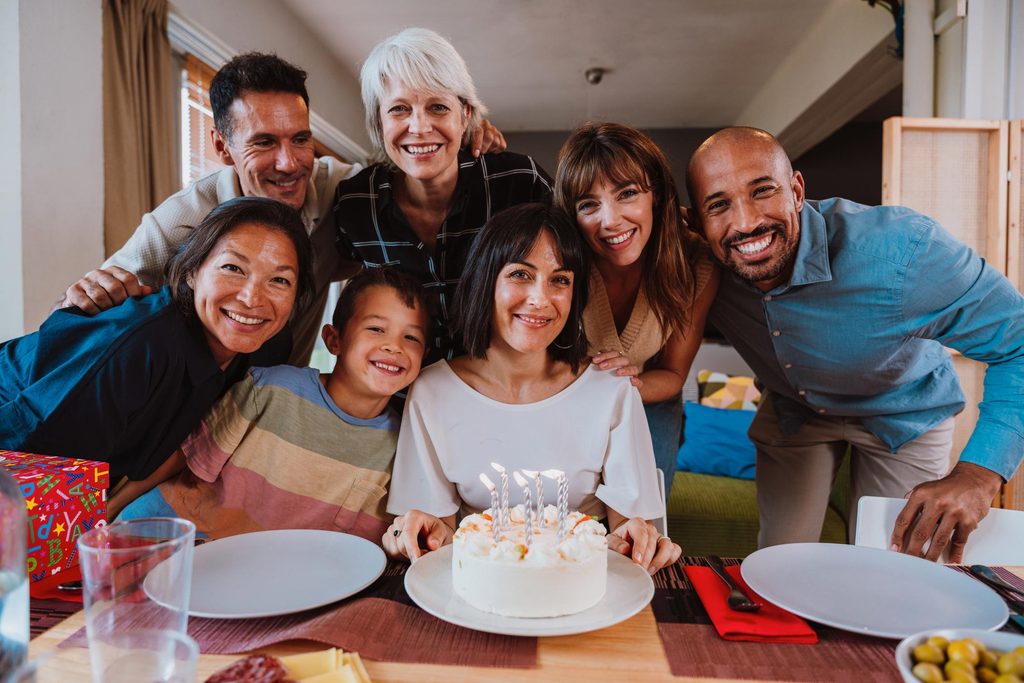
Single-person portraits are relatively straightforward, but red eye becomes a little trickier when several people appear in the same photograph.
Think about a family gathering where five people are looking at the camera. Two have red eyes, one has only a single affected pupil, and the other two look perfectly normal.
The ideal correction would address only the affected eyes.
AILabTools’ red eye removal workflow is intended to handle multiple affected people in the same image while leaving unaffected eyes alone.
However, group photographs often contain smaller faces, uneven lighting, and people standing at different distances from the camera.
That makes it worth inspecting every face after the correction.
Old photographs deserve special attention as well.
You might have a printed family portrait from years ago where someone has noticeable red eyes. A clear digital scan can give you an opportunity to correct that reflection while preserving the character of the original photo.
Just remember that red eye removal isn’t the same as full photo restoration.
If the image also has scratches, fading, severe blur, or missing details, those problems may require separate editing.
For a meaningful family photograph, I’d start with the smallest necessary change and preserve an untouched copy.
Sometimes fixing one distracting detail is enough to make an old picture enjoyable again.
06 Prevent Red Eye in Future Photos
While editing tools can help rescue an otherwise good photograph, avoiding red eye in the first place is even better.
The simplest approach is to change how you use light.
Whenever possible, try taking pictures in brighter surroundings or using a soft, indirect light source instead of a flash pointed straight at someone’s face.
If you’re using a camera with an external flash, bouncing the light off a suitable ceiling or wall can help reduce the chance of a direct reflection.
You can also ask people to look slightly away from the flash, although this isn’t always practical when you’re trying to capture a natural group photo.
Some cameras include a red-eye reduction setting that uses a pre-flash or another technique to help reduce the effect. It can be useful, but it doesn’t guarantee that every image will turn out perfectly.
And sometimes you simply can’t control the situation.
Maybe you’re taking a quick picture at a party. Maybe the lighting is terrible, and everyone is moving around. Maybe the moment happens so quickly that adjusting your camera settings isn’t an option.
In those situations, capturing the moment matters more than getting every technical detail right.
You can deal with the red eye afterward.
Final Thoughts: Keep the Moment, Fix the Distraction
One of the things I appreciate about simple photo corrections is that they don’t have to change what makes a picture meaningful.
A good family photo is still a good family photo, even if the flash catches someone’s eyes at the wrong moment.
You don’t need to change anyone’s face, smooth their skin, adjust their expression, or apply a dramatic filter to make the image worth keeping.
Sometimes all you need is to remove one distracting reflection.
If you have a portrait, selfie, or group photo affected by flash red eye, try the AILabTools AI Red Eye Remover and see whether a small correction makes the picture feel natural again.
Just remember to check the result and keep your original.
The best photo edit is often the one you barely notice.
Put the Guide Into Practice
Remove Red Eye From Your Photos Online
Fix unwanted flash reflections in portraits, selfies, and family pictures while keeping the original look of your photo.